Do you struggle with integrating various systems under one roof for seamless automation?
Enable your business team to create IT-approved connectors and templates by using MuleSoft Composer for Salesforce, which enables business administrators to easily and swiftly automate and create a 360-degree view of the customer.
Let’s explore how to install and configure MuleSoft Composer for Salesforce.
Prerequisites for installing MuleSoft Composer for Salesforce
Before we discuss how to install and configure MuleSoft Composer for Salesforce, we need to go over the requirements and restrictions to keep in mind.
Requirements:
- The Salesforce org must be Salesforce Unlimited, Enterprise, or Performance edition. Sandbox org will not work.
- The maximum number of concurrent users supported by the org is 25.
- Lightning must be enabled in the org.
- A valid MuleSoft Composer license must be available.
Restrictions:
- Your company network administrator must add *.mulesoft.com to the allow list.
- IP restrictions for the connections for the data sources and targets must be relaxed.
- Composer does not support mobile platforms.
Browser requirements
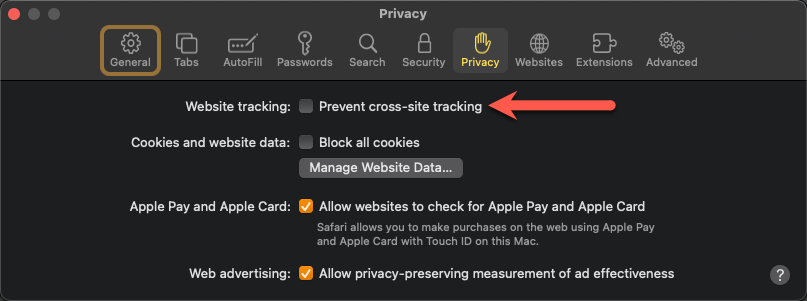
- Don’t use Incognito or private mode in the browser. For Safari browsers, uncheck “Prevent cross-site tracking”.
- The browser must allow third-party cookies
- Composers use the following format for the date fields: YYYY-MM-DDThh:mmZ
Verify MuleSoft Composer in Salesforce
Before using MuleSoft Composer, it should be properly configured with the correct permission assignments, IP relaxations, and more.
To verify whether MuleSoft Composer is available in the Salesforce org, do the following:
- Log in to your Salesforce org as an administrator
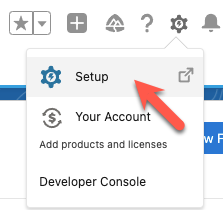
- Click the Setup gear icon at the top right, then click on Setup
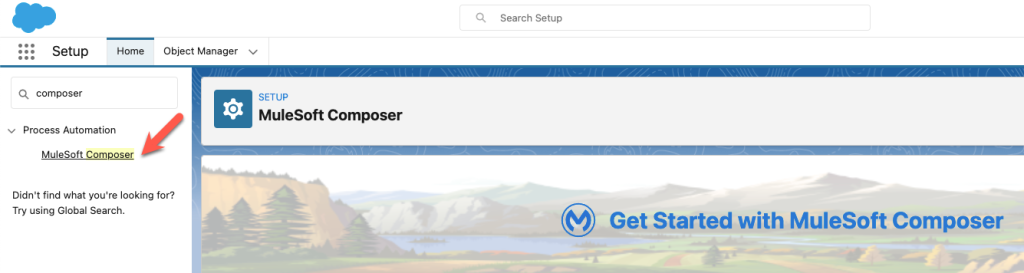
- Type “composer” in the search bar
- Click MuleSoft Composer
If the search results are empty, your org needs to purchase a license for Composer.
How to install MuleSoft Composer for Salesforce
After successful verification of MuleSoft Composer, the next step is to install.
Click the Install MuleSoft Package button to initiate the installation.

The installation process will take a minute or two to complete. Once the installation is successful, the next step is to change the type of permitted users and relax IP restrictions.
Click Open Settings. This will launch the Connected App page for MuleSoft Composer.
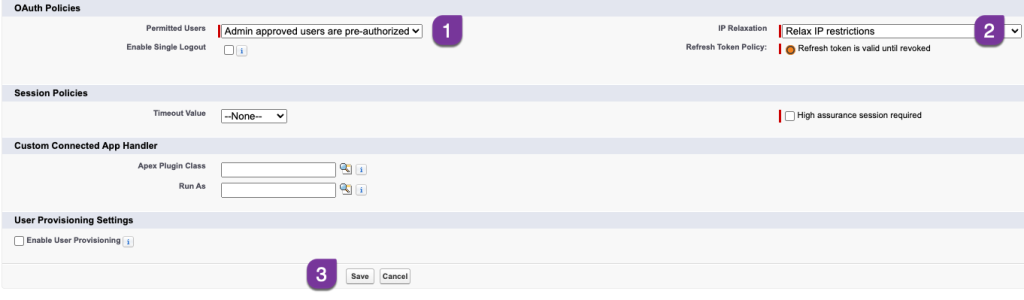
In the OAuth Policies section, select Admin-approved users are pre-authorized from the Permitted Users dropdown and select Relax IP restrictions from the IP Relaxation dropdown as shown below. Then, click Save.
The next step is to enable the MuleSoft service and grant MuleSoft Composer access to the users. Click Initiate Configuration. It will take a moment to connect to MuleSoft services. Enabling MuleSoft services in Salesforce org automatically provisions the AnyPoint Platform org and account.
When you design, build, test, and activate the flows in MuleSoft Composer for Salesforce, AnyPoint Platform leverages this AnyPoint Platform org and account to run and manage the flows.

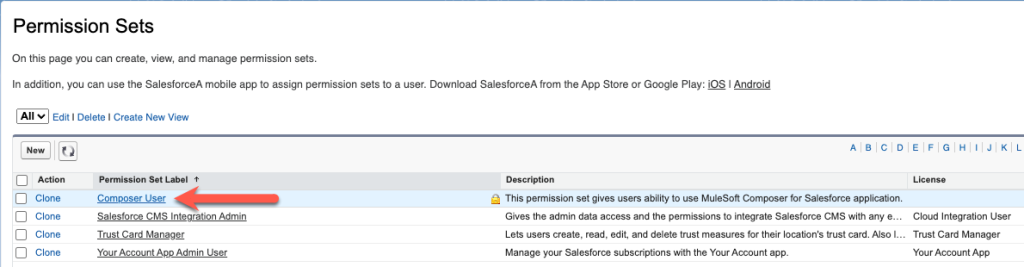
Now you can assign the users to access the MuleSoft Composer. Click Assign Users. A new permission set called Composer User will be created automatically.
Click the Composer User link. On the subsequent page, click Manage Assignments, and then click Add Assignments.
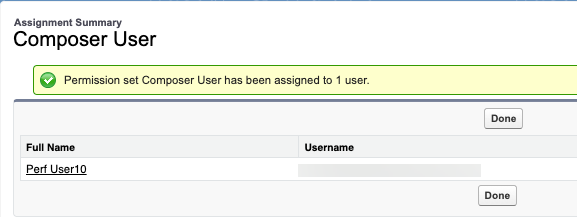
On the Assign Users page, check all the users who need the MuleSoft Composer User permission set. Then, click the Assign button. Once the user is assigned, click Done.
Conclusion
Congratulations! You’ve just installed and configured MuleSoft Composer for Salesforce in your Salesforce org.
The last step is to verify and validate the installation and configuration. In the Launch MuleSoft Composer section, click the Launch button to open Composer. You could also type “composer” in the search bar, and then select MuleSoft Composer in the search results.
To learn more about MuleSoft Composer for Salesforce, check out our additional resources to get started.